Perfect Tacos at Home
* Blog Currently on Hiatus.
The New York Times had a great Taco series in their food section yesterday.
In recent months I've become something of a taco fanatic. Growing up, all I knew was Taco Bell, and the occasional stuff my mom would make with the Old El Paso kits. Marrying a woman from California has opened my eyes to what tacos and all Mexican food, really can be.
Mark Bittman as The Minimalist tells us how you can create authentic tacos in your own kitchen. He strongly recommends using corn tortillas, though in my experience, they're more prone to falling apart in your hand. The article tells us what ingredients make up the taco experience and what options you have.
In Taco Technique, Bottom to Top, Bittman gives us the proper method of building a great taco.
Slow-Roasted Pork for Tacos
Grilled Carne Asada for Tacos
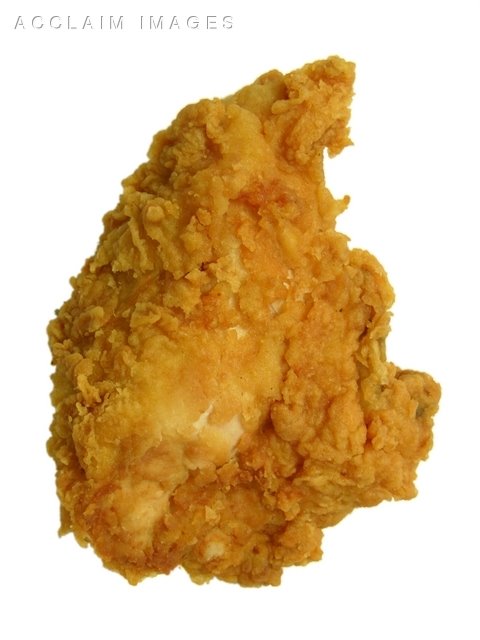
Shredded Chicken for Tacos
Salsa Fresca
Shopping for Tortillas (In the New York area)
In my experience, I've found the Carne Asada beef at Trader Joes to be outstanding, as are their hand made flour tortillas. Make sure you get the hand made ones, there is such a difference between those and the regular ones that you won't believe it.
 Blog Currently on Hiatus.
The New York Times had a great Taco series in their food section yesterday.
In recent months I've become something of a taco fanatic. Growing up, all I knew was Taco Bell, and the occasional stuff my mom would make with the Old El Paso kits. Marrying a woman from California has opened my eyes to what tacos and all Mexican food, really can be.
Mark Bittman as The Minimalist tells us how you can create authentic tacos in your own kitchen. He strongly recommends using corn tortillas, though in my experience, they're more prone to falling apart in your hand. The article tells us what ingredients make up the taco experience and what options you have.
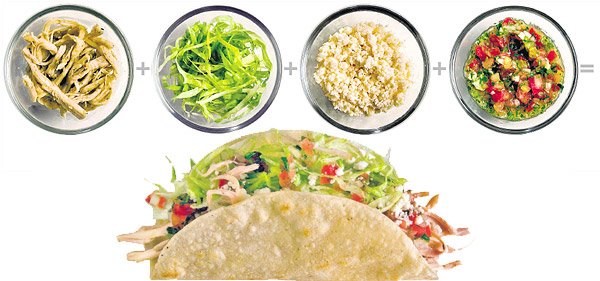
In Taco Technique, Bottom to Top, Bittman gives us the proper method of building a great taco.
Briefly warm the tortilla on both sides in a dry pan. It will take on just a little color.There are a number of receipes in the series as well, which give you more authentic ingredients to add to your feast:
Then, be sure not to overload. If you put too much in there, the stuff will fall right out. Start with the protein, not only because it’s the foundation but because as the heaviest component it belongs at the bottom; no more than one-third cup or so for an average four- or five-inch taco. I like to put the crunchy stuff, like lettuce, on next, for contrast; a small handful, as much as you can grab with your fingers, not your fist. Then the spoonable ingredients, or the sprinkles: salsa or crema, guacamole or crumbled cheese — whatever you like, but we’re only talking a tablespoon or two here.
Slow-Roasted Pork for Tacos
Grilled Carne Asada for Tacos
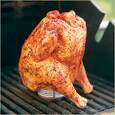
Shredded Chicken for Tacos
Salsa Fresca
Shopping for Tortillas (In the New York area)
In my experience, I've found the Carne Asada beef at Trader Joes to be outstanding, as are their hand made flour tortillas. Make sure you get the hand made ones, there is such a difference between those and the regular ones that you won't believe it.
| Permalink | ![]()
![]()